This week, after a long spring of unseasonal and unpredictable weather events, our garden was treated to a much-needed spa day. We treated the entire property to a good foliar spray drenching of compost tea, inoculating the plants “intravenously” so to speak, directly through their epidermis and the stomata (pores) under their leaves.
I had been noticing very small deficits (slow growth, wilt, fade, aphids, etc.) here and there in the garden, caused by one or more climate events, nutrient imbalance, or related pest pressure. Facing a shorter-than-usual growing season and not enough time to guess and correct on multiple fronts, I figured that mainlining a super-charged compost tea would fortify all manner of growing things above and below ground.
We’ve been making tea in small batches for years, applying it to the soil primarily and spot foliar spraying using a one-gallon hand pump. As the gardens grew, the amount of time spent brewing and pumping grew in direct proportion to the repetitive-motion pain in my shoulder.
A Ryobi 40-volt lithium-ion cordless four-gallon backpack sprayer changed everything, however, and the weekend-long job of foliar spraying was reduced to just a few fantastically fun hours. The backpack shares a rechargeable battery with our blower, which reduced the cost a bit, but still it was a $200 investment. Smaller gardens certainly don’t need this.
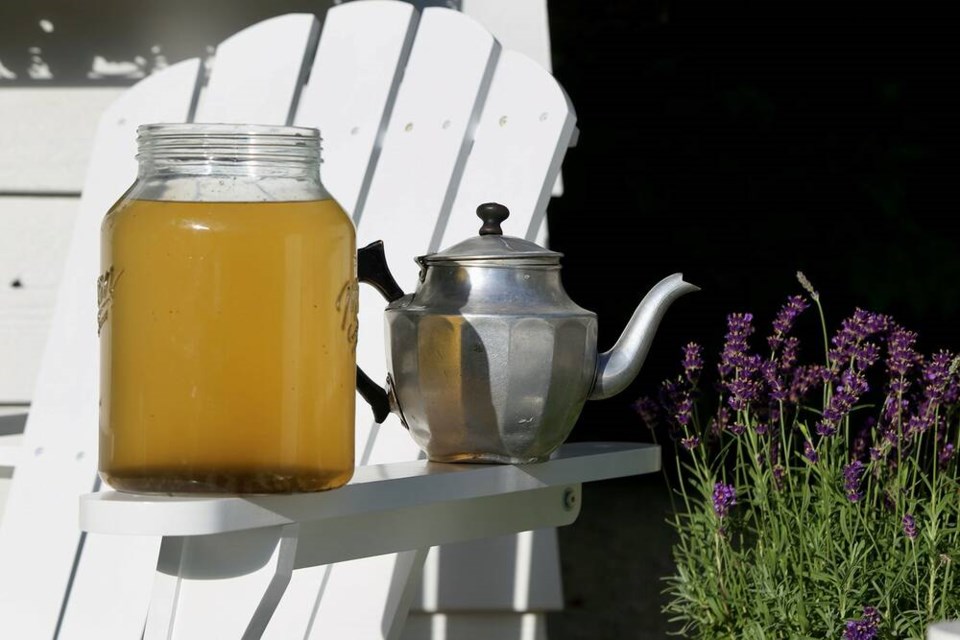
We brewed two, five-gallon batches of strong compost tea in large buckets outfitted with simple aerators – one set up with a traditional large bubble brewer, and one set up with two small-bubble aquarium stones. Either will do, but I prefer the tiny bubbles as there is less noise and spill, and the water seems to oxygenate more quickly.
Making compost tea need not be complicated, and really anyone can do it. Our early batches were made by dangling a compost-filled sock over the edge of a water-filled bucket, and leaving it untouched for a few days. It is critical to use fully hydrophilic (hot) compost and good-quality amendments, so as not to introduce pathogens or infection to your garden. Using rainwater or dechlorinated tap water is essential as well, because chlorine/chloramine kill beneficial bacteria. Leaving buckets full of tap water out for a few days before brewing evaporates chlorine.
Recipes vary wildly, as do dilution rates. I diluted 1:3 tea with rested hose water, turning 10-gallons of strong compost tea into 40 gallons of foliar spray. Undiluted tea works well also, but I would water it in directly as a soil amendment.
My tea ingredient shelf in the shed has grown over the years and includes everything from mycorrhizae fungus to increase nutrient and water uptake; to Epsom salts to deliver magnesium, liquid kelp and cold-processed fish hydrolysate (fish oil, amino acids, vitamins, hormones, enzymes and trace minerals) to feed beneficial microbes; unsulphured molasses to provide carbohydrates and minerals quickly; and even biochar dust which absorbs nutrients and microbes, and in turn charges the soil and improves its structure.
A basic recipe of one litre of good quality compost or vermi-compost placed in a mesh bag tied to the handle of a five-gallon bucket full of room temperature water into which 30 millilitres unsulphured molasses has been dissolved, works just fine. Immerse a bubbler of choice into the water and brew for 24 to 36 hours.
Dilute 1:1 to 1:3 and foliar spray before or after the heat of the day, or water-in at full strength or diluted. I spray everything that grows and wait at least 48-hours before harvesting edibles, just to be safe. Spent compost goes into the worm bins, returning biology from whence it came.
Laura Marie Neubert is a West Vancouver-based urban permaculture designer. Follow her on Instagram @upfrontandbeautiful, learn more about permaculture by visiting her Upfront & Beautiful website or email your questions to her here.
For a taste of permaculture, watch the video below:


