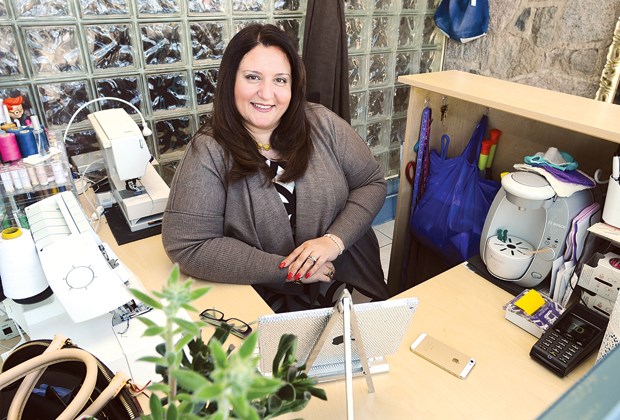
With only 50 square feet to work in, clothing alterations professional Sherry Matin has become an expert at using space efficiently.
Her ironing board folds out from the wall, she records business transactions on an iPad instead of a desktop computer, a pulled-back curtain can be released to create a private fitting room, and a clear "ghost chair" provides an unobtrusive seat for customers.
Matin opened her tiny boutique at Lonsdale Avenue and 19th Street in late January, though she has been working as a seamstress and dressmaker on the North Shore for more than 20 years.
She's making the most of her new space, and also endeavours to make the most of her fabrics.
"I don't like throwing things away," she says. "I re-use basically everything I can."
That means Matin usually has some sort of "upcycling" project on the go, whether she's repurposing an old cosmetics bag into an electronics case, or transforming scrap material into cushion covers.
Many of her projects require just basic sewing skills and, this week, she is sharing step-by-step instructions for two of her recent creations.
"I think, really, if you're familiar with a sewing machine you can do it," she says, adding that these projects would be a great introduction to sewing for teens who are interested in making their own clothes.
So, rummage through your drawers, dust off the sewing kit and get started.
Matching skirt and bag set
This remix project combines a worn pair of jeans and an old skirt into a refurbished skirt with a matching purse.
1) Remove back pockets from jeans and set aside.
2) Measure three inches below the bottom of the zipper (or where the front pockets end). Mark with sewing chalk and draw a straight line around the circumference of the pants. Allow half an inch for stitching and cut.
3) Cut the skirt in half, horizontally, and reserve both pieces.
4) Pin the top part of the jeans to the bottom part of the skirt and finish with a top stitch.
5) Replace the back pockets and finish with a top stitch.
For the bag:
1) Open the inner seam of the pant legs and sew both legs together. Trim to desired length (the length depends on how deep you like your bag) and sew bottom.
2) Fold over the top three inches and finish with a top stitch. With the extra denim leftover from the pant legs, cut two pockets - a small one for the front and a large one for the back - and sew them to the bag.
3) Make four belt loops and stitch to the top of the bag. With the extra fabric leftover from the skirt, create a belt long enough to tie around the bag.
4) For the handle, cut three strips of denim each 1.5 inches wide. Braid the three strips of fabric together to add strength and style. Stitch the braided strap to either side of the bag.
Reusable shopping bag
For this project, Matin transforms a graphic tank top into a stretchy shopping bag that she can roll up and store in her purse when it's not in use.
1) Turn the tank inside out, pin the bottom together and sew.
2) Align the side seam with the bottom seam to create a peak. Hold in place with pins. Mark two inches from the tip of the peak, draw a line and stitch along the line to create a two-inch-deep boxed corner. Repeat on the other side. This creates a base for your bag.
3) Turn right-side out and undo both shoulder seams.
4) Pin the front shoulder straps together and stitch. Repeat with the back shoulder straps. This step creates handles for the bag.
See more instructional photos at nsnews.com. See more of Matin's upcycling projects at sateenalterations.com.


